Install Vesta Host Control Panel On Ubuntu 16.04 | 18.04 LTS
Vesta Host Control Panel is free, simple and fast host control panel that you can use to host websites, mail server and other web hosting features from a simple web interface…
Vesta which also runs on low resource server is comes with nginx + php-fpm and advanced caching that are available right out of the box.. With its auto installer, you’re able to install more than 439 apps with one click…
If you need a next generation hosting control platform that is built for speed, security and stability, then you may want to give Vesta host control platform a try…
These are some of the features that come with Vesta: WEB domains, DNS domains, MAIL domains, Databases, CRON, User Directories and more..
For more about Vesta, please visit its homepage…
This brief tutorial is going to show students and new users how to easily install Vesta host control platform on Ubuntu 16.04 | 18.04 LTS servers..When you’re ready to install Vesta, continue with the steps below:
Step 0: Configure Ubuntu Local Host Domain
Before installing Vesta, you will want to setup Ubuntu local domain on the server… Do do that, run the commands below to open the Ubuntu local hosts file..
sudo nano /etc/hosts
Then type in the server address to domain mapping… You can use your public IP address instead of the local one…
127.0.0.1 vesta.example.com
Should look like the lines below:
127.0.0.1              localhost
127.0.1.1              ubuntu1804
127.0.0.1              vesta.example.com

# The following lines are desirable for IPv6 capable hosts
::1     ip6-localhost ip6-loopback
fe00::0 ip6-localnet
ff00::0 ip6-mcastprefix
ff02::1 ip6-allnodes
ff02::2 ip6-allrouters
Save the file and exit
Step 1: Download Vesta installer script
Vesta has an easy installer script to get the platform working on Ubuntu… To get the installer script, run the commands below
First update Ubuntu server by running the commands below: If you don’t already have Curl installed, the commands below also help you install it.
sudo apt update
sudo apt install curl
Then use the commands below to download the script into the /tmp directory… You’ll want to use the tmp directory because content in it are automatically deleted upon server reboot…
cd /tmp
curl -O http://vestacp.com/pub/vst-install.sh
Step 2: Install Vesta
After downloading the script and changing the permissions above, run the commands below to begin the installation….
sudo bash vst-install.sh
When you do that, you should see series of prompts to guide you with the installation… Choose the highlighted options below to have a smooth installation…
vst-install-ubuntu.sh  100%[============================>]  45.68K  --.-KB/s    in 0.1s

2019-03-17 10:19:42 (410 KB/s) - ‘vst-install-ubuntu.sh’ saved [46772/46772]

 _|      _|  _|_|_|_|    _|_|_|  _|_|_|_|_|    _|_|
 _|      _|  _|        _|            _|      _|    _|
 _|      _|  _|_|_|      _|_|        _|      _|_|_|_|
   _|  _|    _|              _|      _|      _|    _|
     _|      _|_|_|_|  _|_|_|        _|      _|    _|

                                  Vesta Control Panel

The following software will be installed on your system:
   - Nginx Web Server
   - Apache Web Server (as backend)
   - Bind DNS Server
   - Exim Mail Server + ClamAVSpamAssassin
   - Dovecot POP3/IMAP Server
   - MySQL Database Server
   - Vsftpd FTP Server
   - Softaculous Plugin
   - Iptables Firewall + Fail2Ban

Would you like to continue [y/n]: y
After that the script should start downloading and installing the packages you chose..
Please enter admin email address: [email protected]
Please enter FQDN hostname [ubuntu1804]: vesta.example.com
Installation backup directory: /root/vst_install_backups/1552836139
When the installation is completes, you should see similar screen like the one below with the administrator login details…
Congratulations, Softaculous was installed successfully
Softaculous has been installed at:
Path : /usr/local/vesta/softaculous
Scripts Path : /var/softaculous

We request you to please register for updates and notifications at :
http://www.softaculous.com/board/index.php?act=register
It also inspires us when you register. Registration is free and just a one minute job.

If you need any support you can always count on us. Just drop in at our Support Board:
http://www.softaculous.com/board
Alternatively, you can contact us via Email at [email protected]

Thank you for using Softaculous
=======================================================

 _|      _|  _|_|_|_|    _|_|_|  _|_|_|_|_|    _|_|
 _|      _|  _|        _|            _|      _|    _|
 _|      _|  _|_|_|      _|_|        _|      _|_|_|_|
   _|  _|    _|              _|      _|      _|    _|
     _|      _|_|_|_|  _|_|_|        _|      _|    _|


Congratulations, you have just successfully installed Vesta Control Panel

    https://127.0.0.1:8083
    username: admin
    password: 5H7MDKTSII

We hope that you enjoy your installation of Vesta. Please feel free to contact us anytime if you have any questions.
Thank you.
--
Sincerely yours
vestacp.com team
Copy the details and logon to the control panel portal…
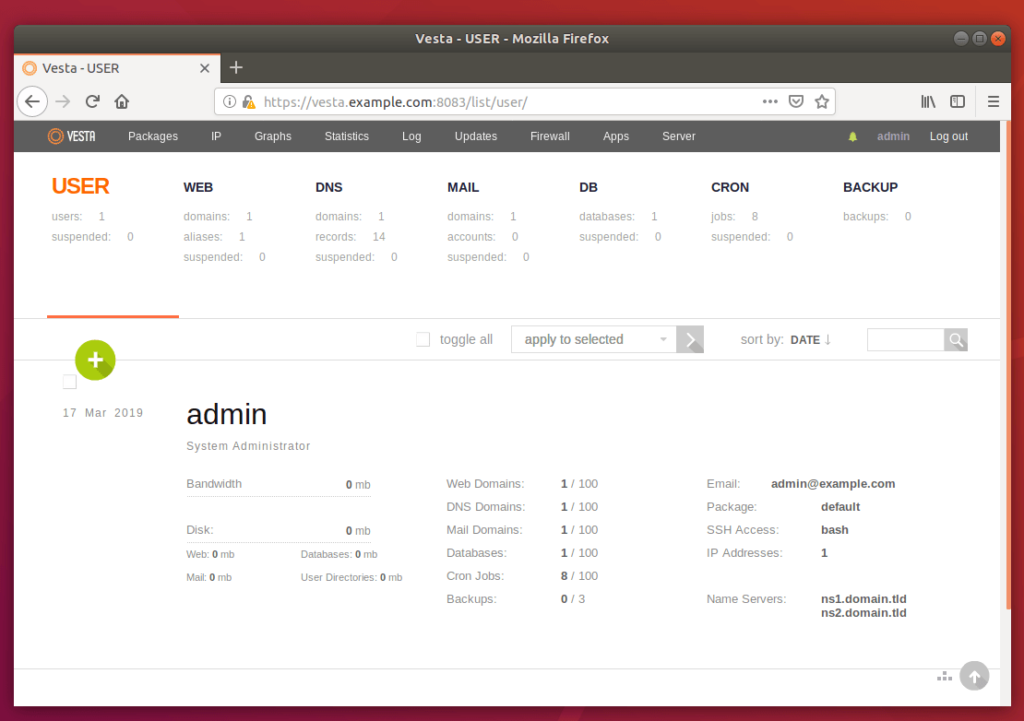
That should being up the logon page when you can logon with the admin info printed above…
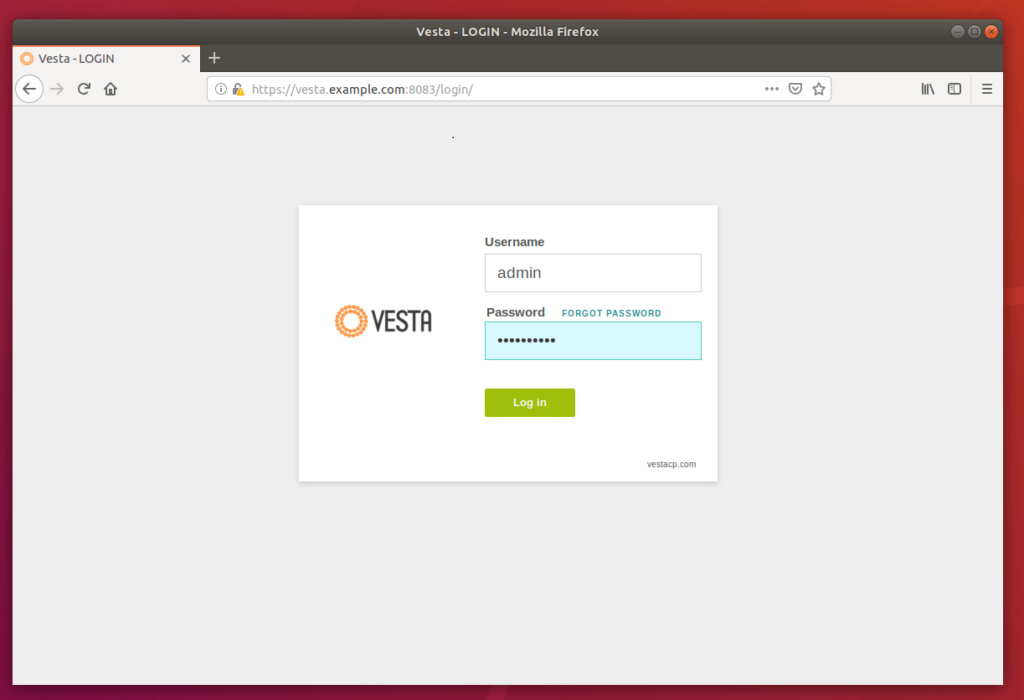
That’s it! You can now begin setting up your host environment and other settings after logging on to the back-end panel..
Congratulations! You have successfully install Vesta on Ubuntu 16.04 | 18.04 LTS servers.